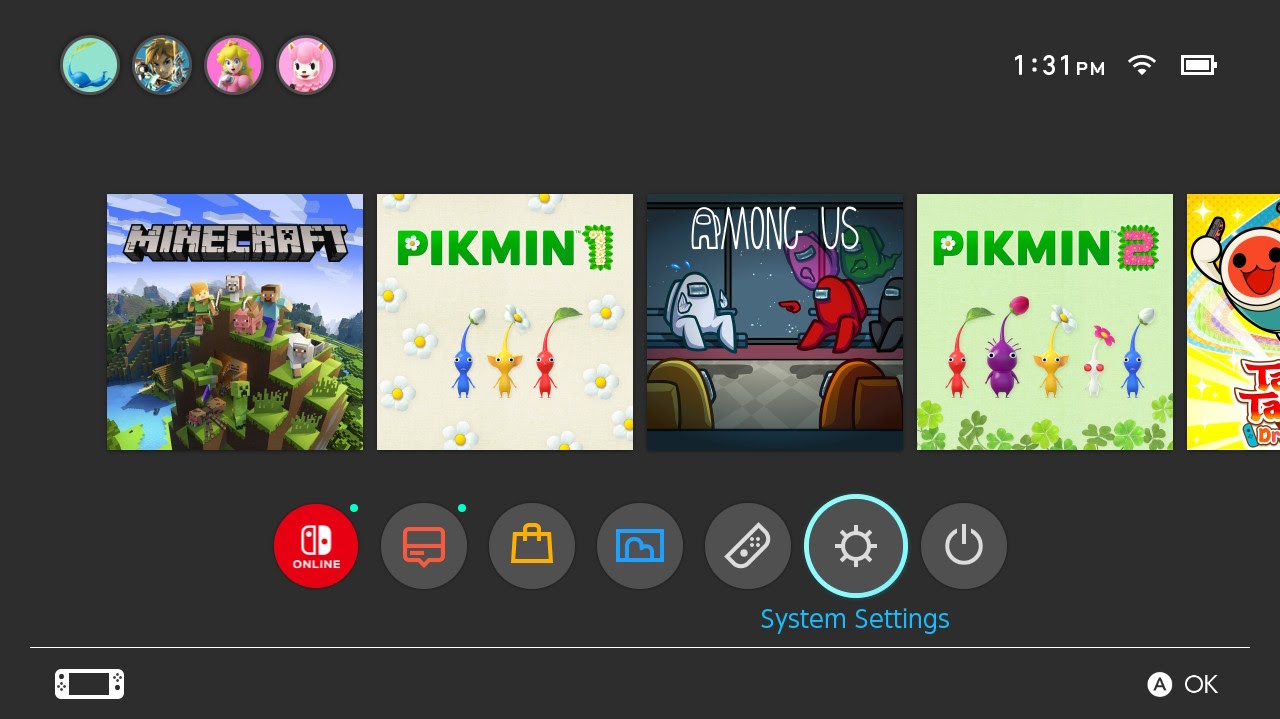
Step 1
Open System Settings
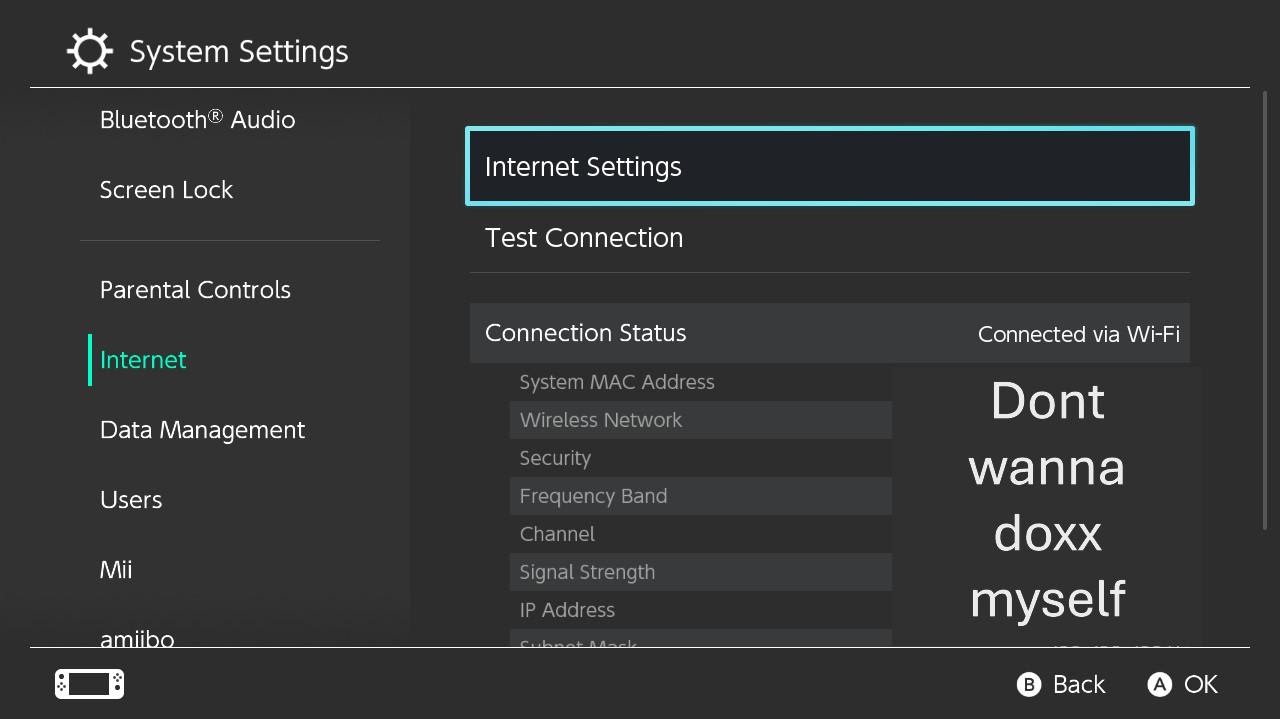
Step 2
Navagate to Internet>Internet Settings
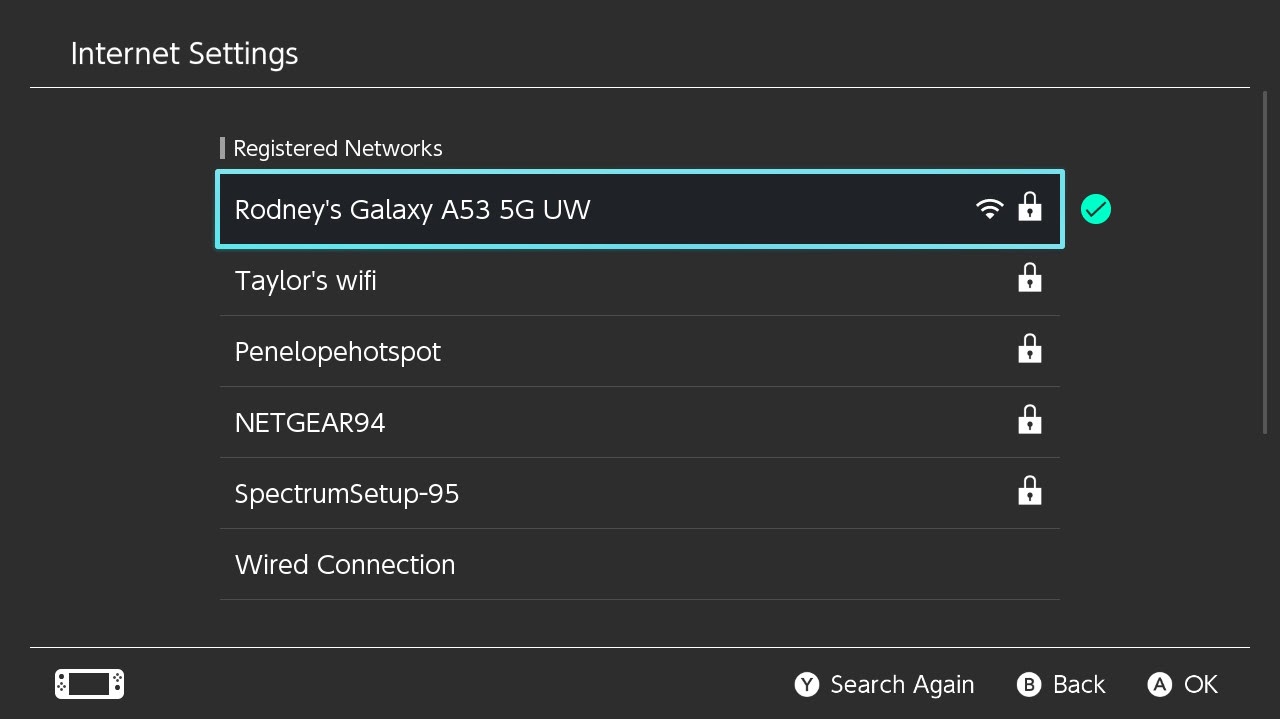
Step 3
Select your network
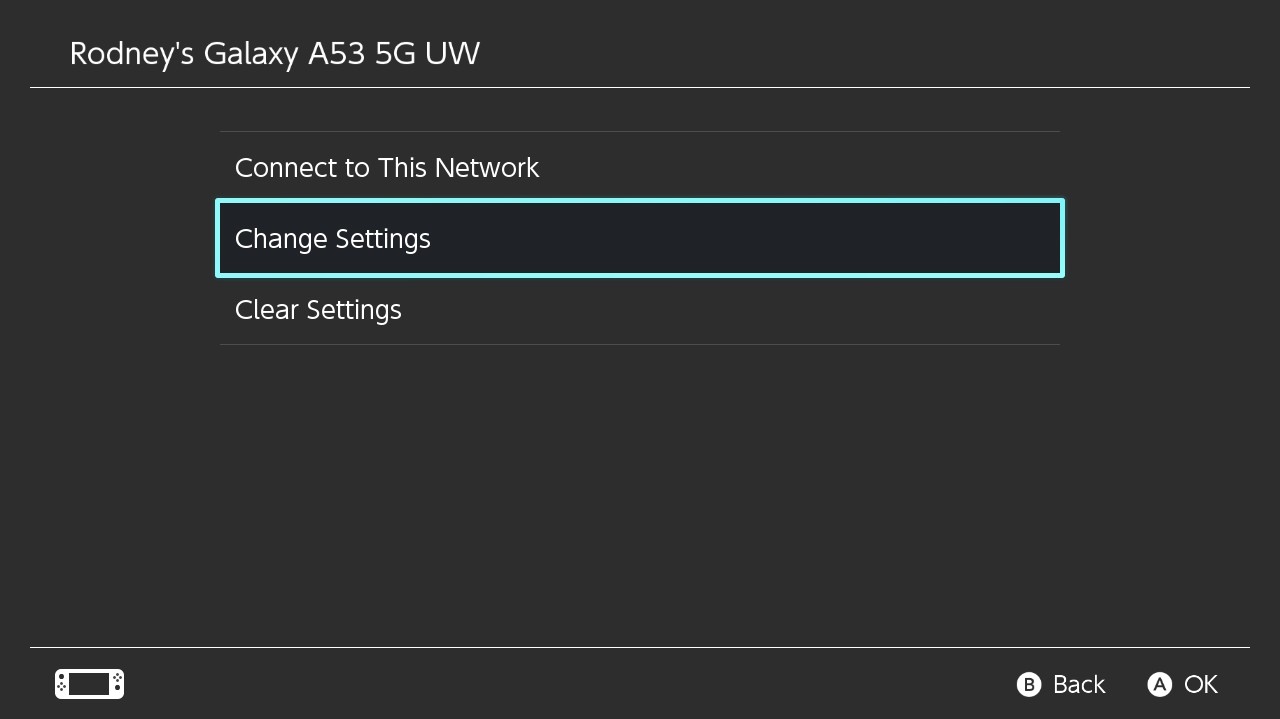
Step 4
Select Change Settings
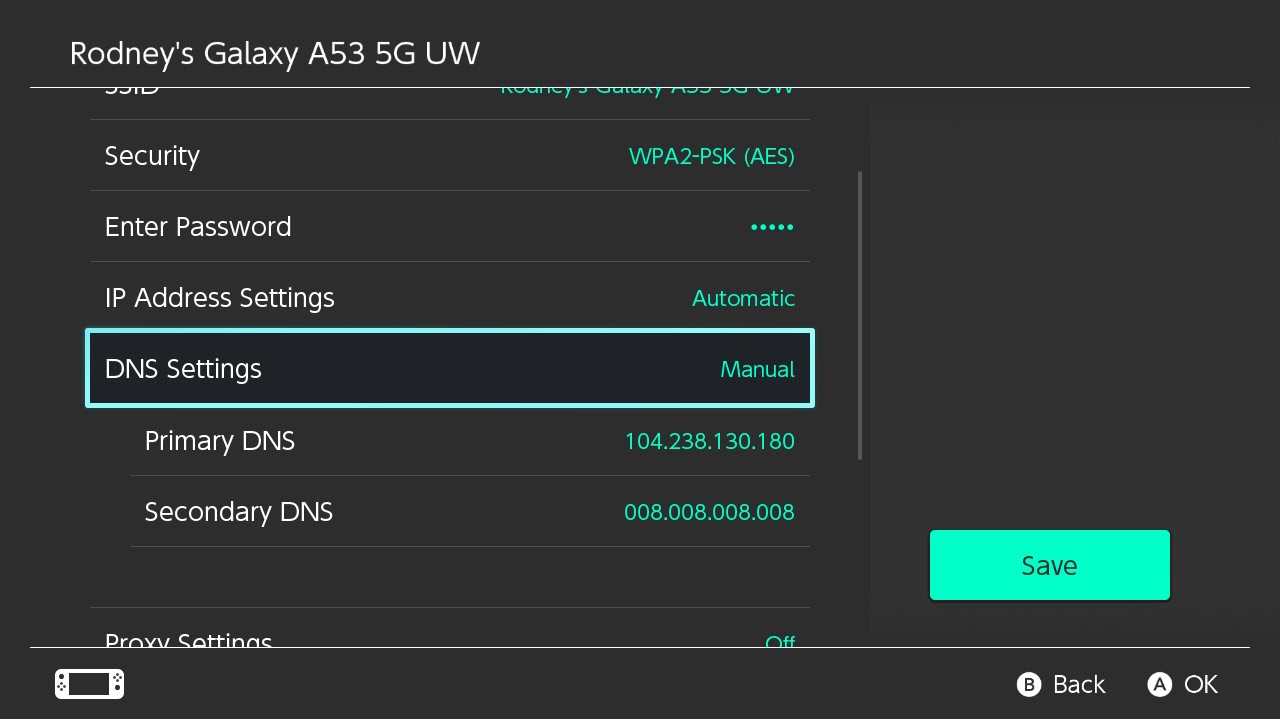
Step 5
Navagate To DNS Settings
Set the DNS Settings to Manual and enter the following:
Primary DNS: 104.238.130.180
Secondary DNS: 008.008.008.008
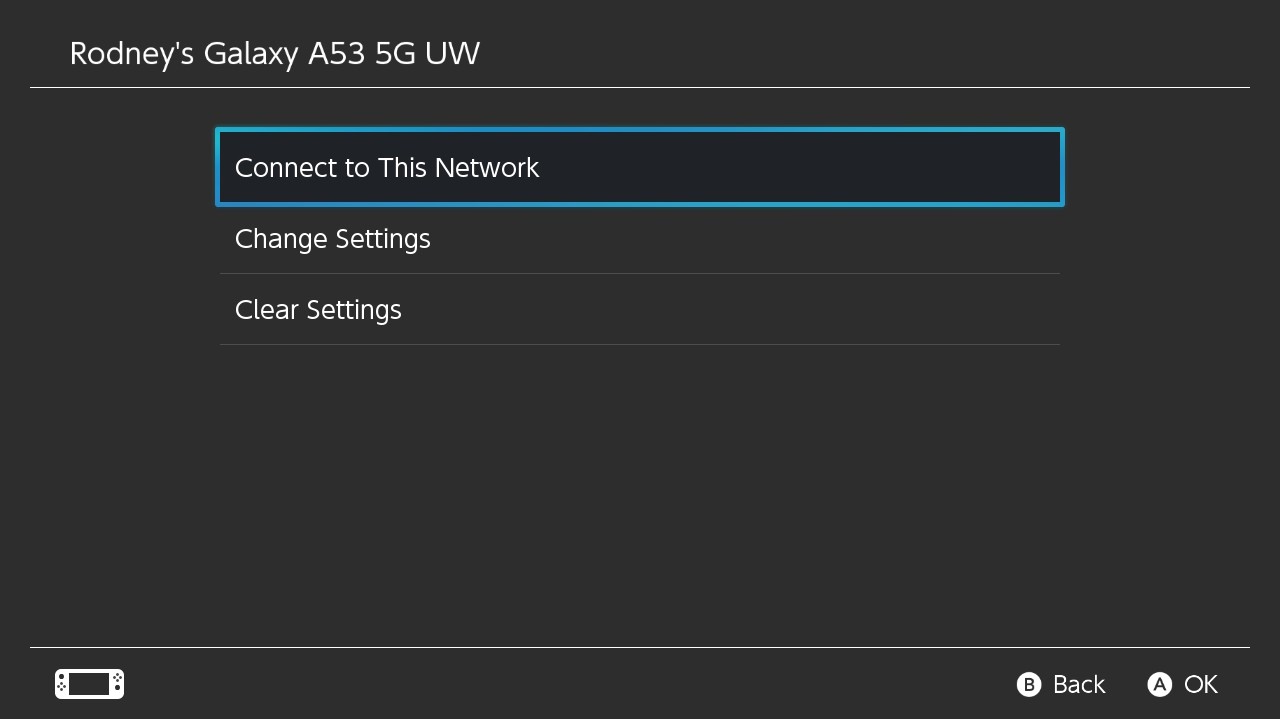
Step 6
Select Connect To This Network
(WARN: You will have to redo steps 3-6 if you connect to another network than the one you have set up already)
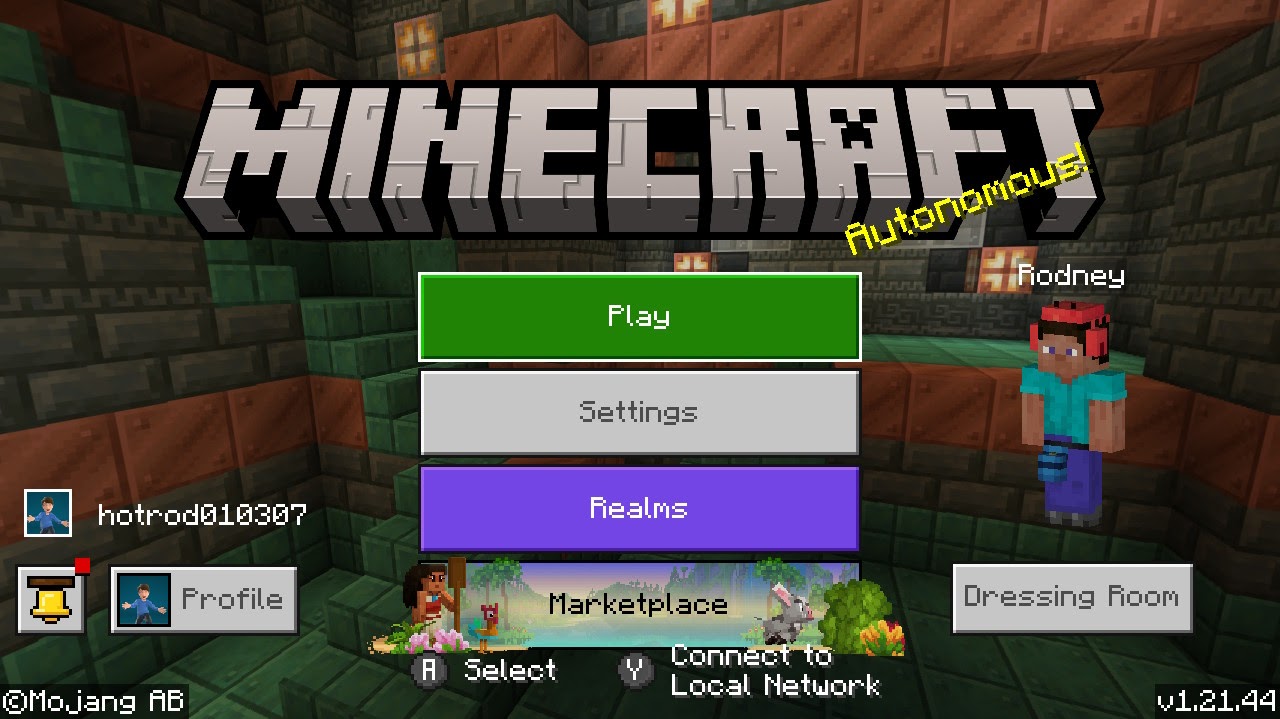
Step 7
Open Minecraft and log in as needed.
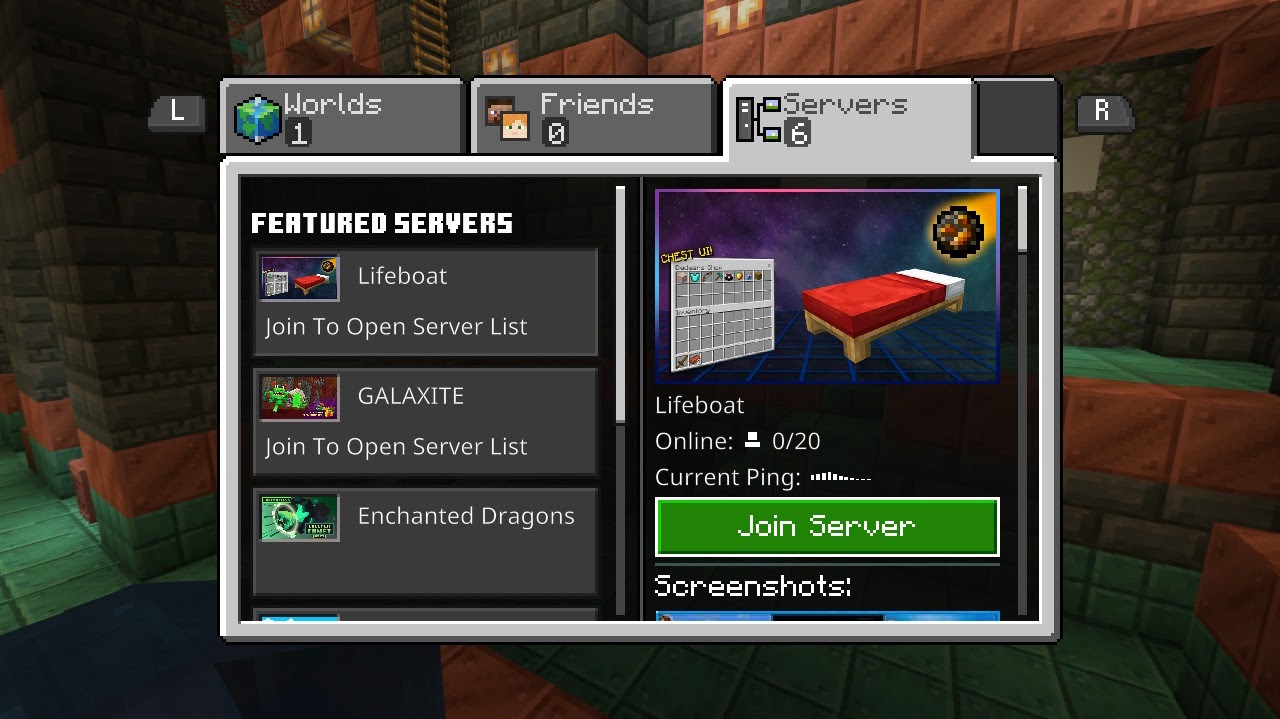
Step 8
Connect to any server(doesn't matter which one)

Step 9
(If this menu doesn't show up, disconnect and try again)
Select Manage Server List
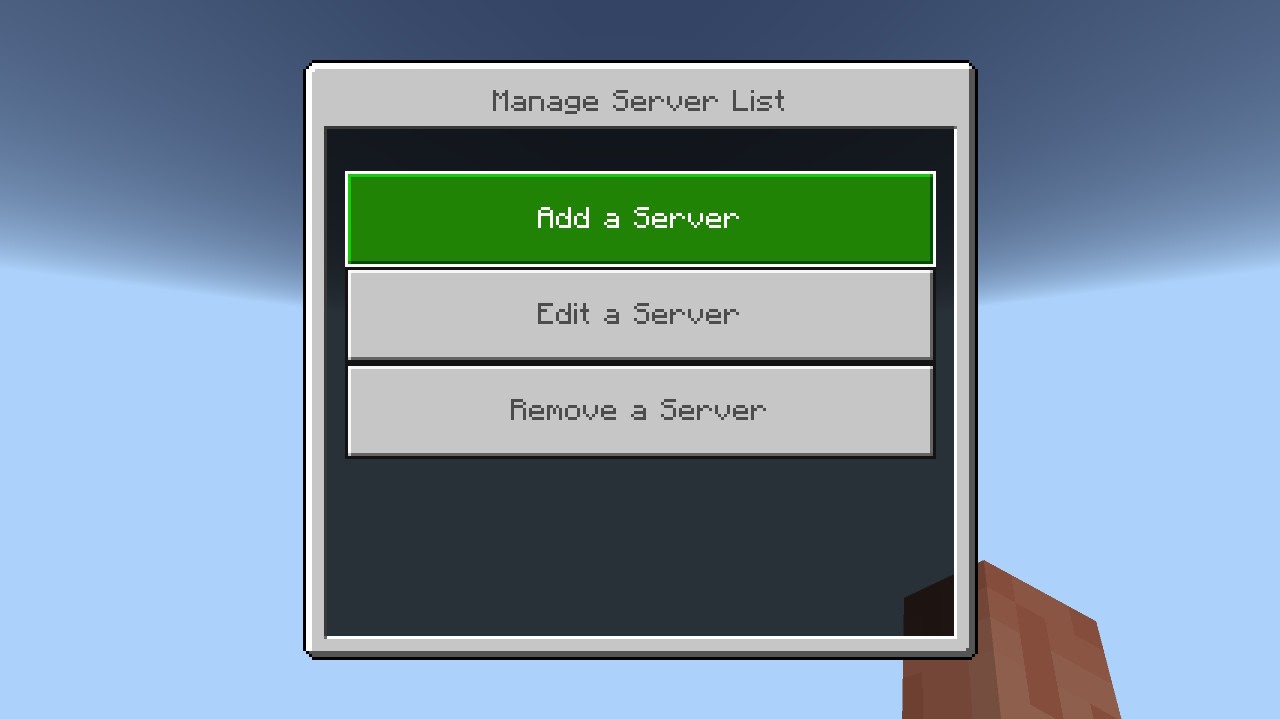
Step 10
Select Add a Server
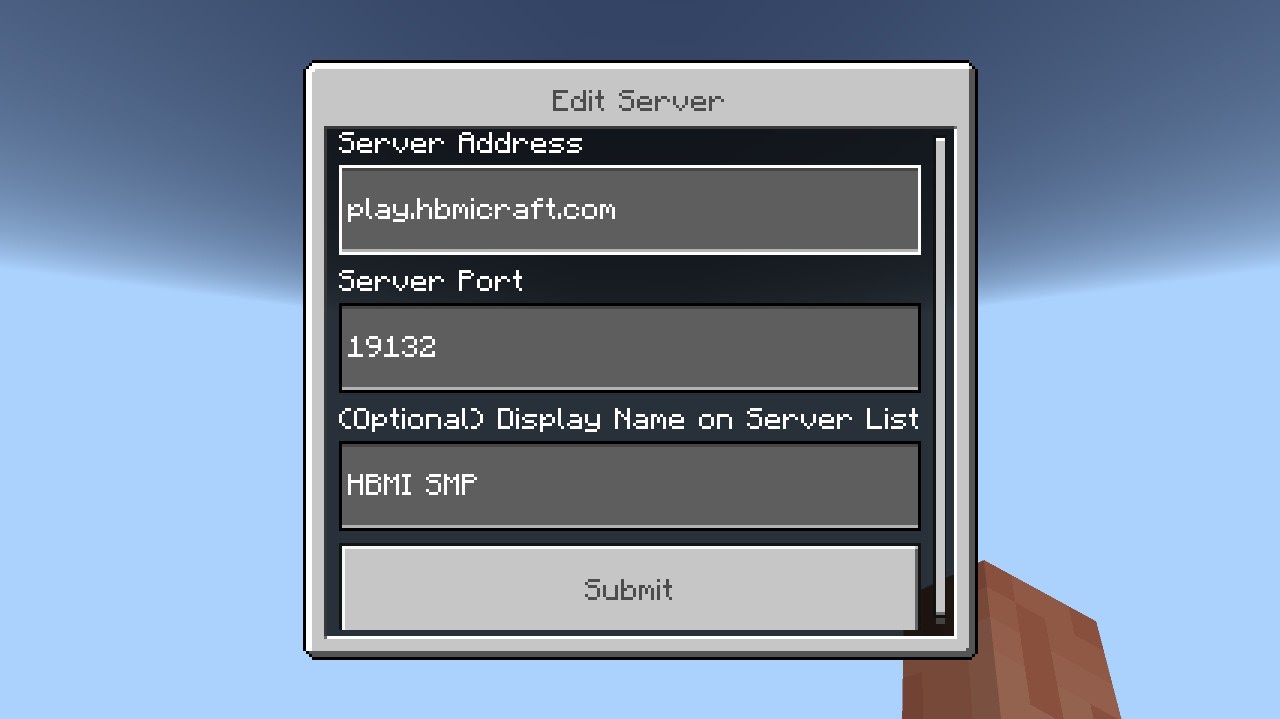
Step 11
Input the following then select Submit:
Server Address: play.hbmicraft.com
Server Port: 19132 (normally auto)
Display Name: HBMICraft
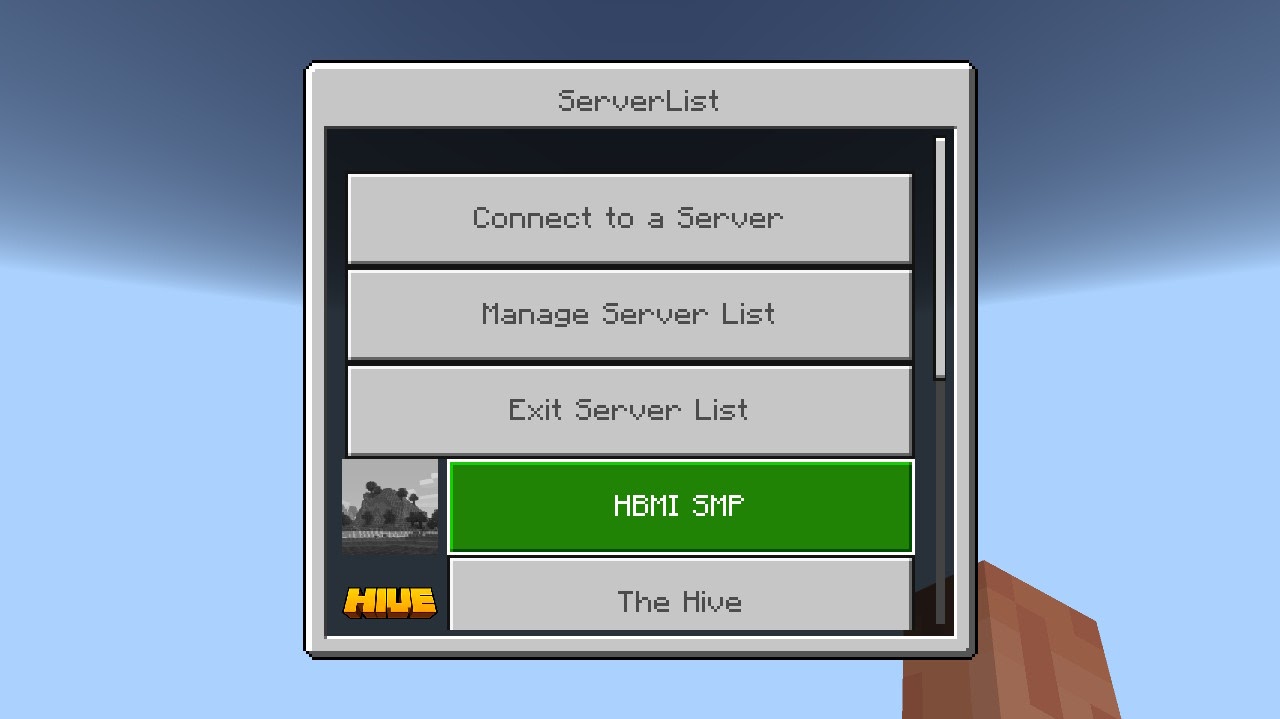
Step 12
Click the back button until you reach the main menu, then select HBMICraft